MINECRAFT BASICS / BUILD-ALONG TUTORIAL
Redstone for Beginners: Light Up Your Minecraft World!
Let’s make something light up! Join Rob, Teryn, and Olivia to craft a redstone lamp, connect a trail of redstone dust, and try three ways to switch the light on. Start small, experiment together, and finish with some inspiration for lighting your own Minecraft room.
By Games For Kids Hub · Learn with Rob, Teryn, and Olivia
Watch and build with us
Watch the tutorial on YouTube. Pause whenever you need to, and try each experiment before moving on.
Jump to a video chapter
Gather your redstone supplies
Find a clear patch of ground with room to stretch out a line of dust. Keep these supplies handy:
- Redstone dust
- Sticks and glowstone for the recipes below
- Redstone torches and redstone lamps
- A button, a lever, and a pressure plate
- Solid blocks to support your builds
- A crafting table for the lamp recipe
You can reuse your lamp and dust for the different tests. You don’t need to build a whole room to get started!
1. Craft a redstone torch
This little torch will be our first power source.
- Open your crafting grid.
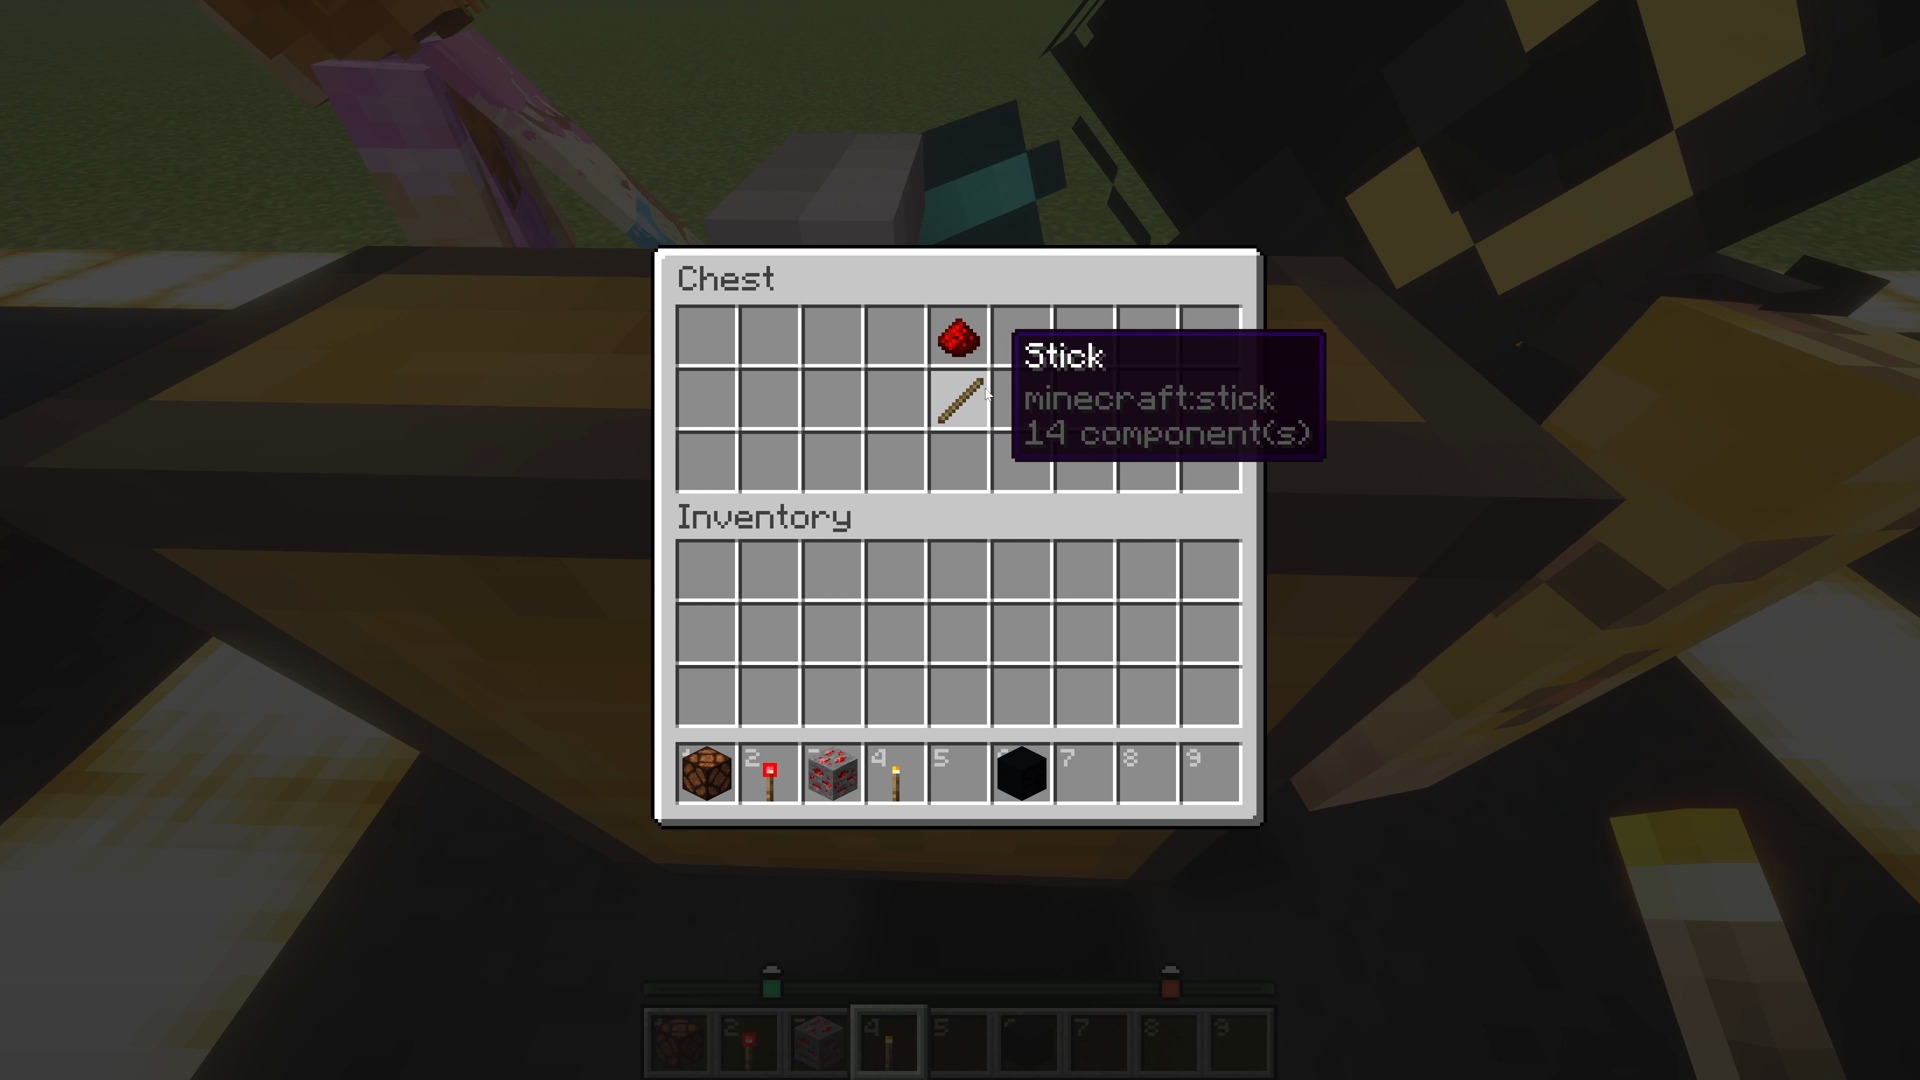
- Place one redstone dust directly above one stick, in the same column.
- Take your redstone torch from the result slot.
Rob lays out the ingredients in a chest to show the arrangement. When you make yours, use a crafting grid.
2. Craft a redstone lamp
- Open a crafting table’s 3-by-3 grid.
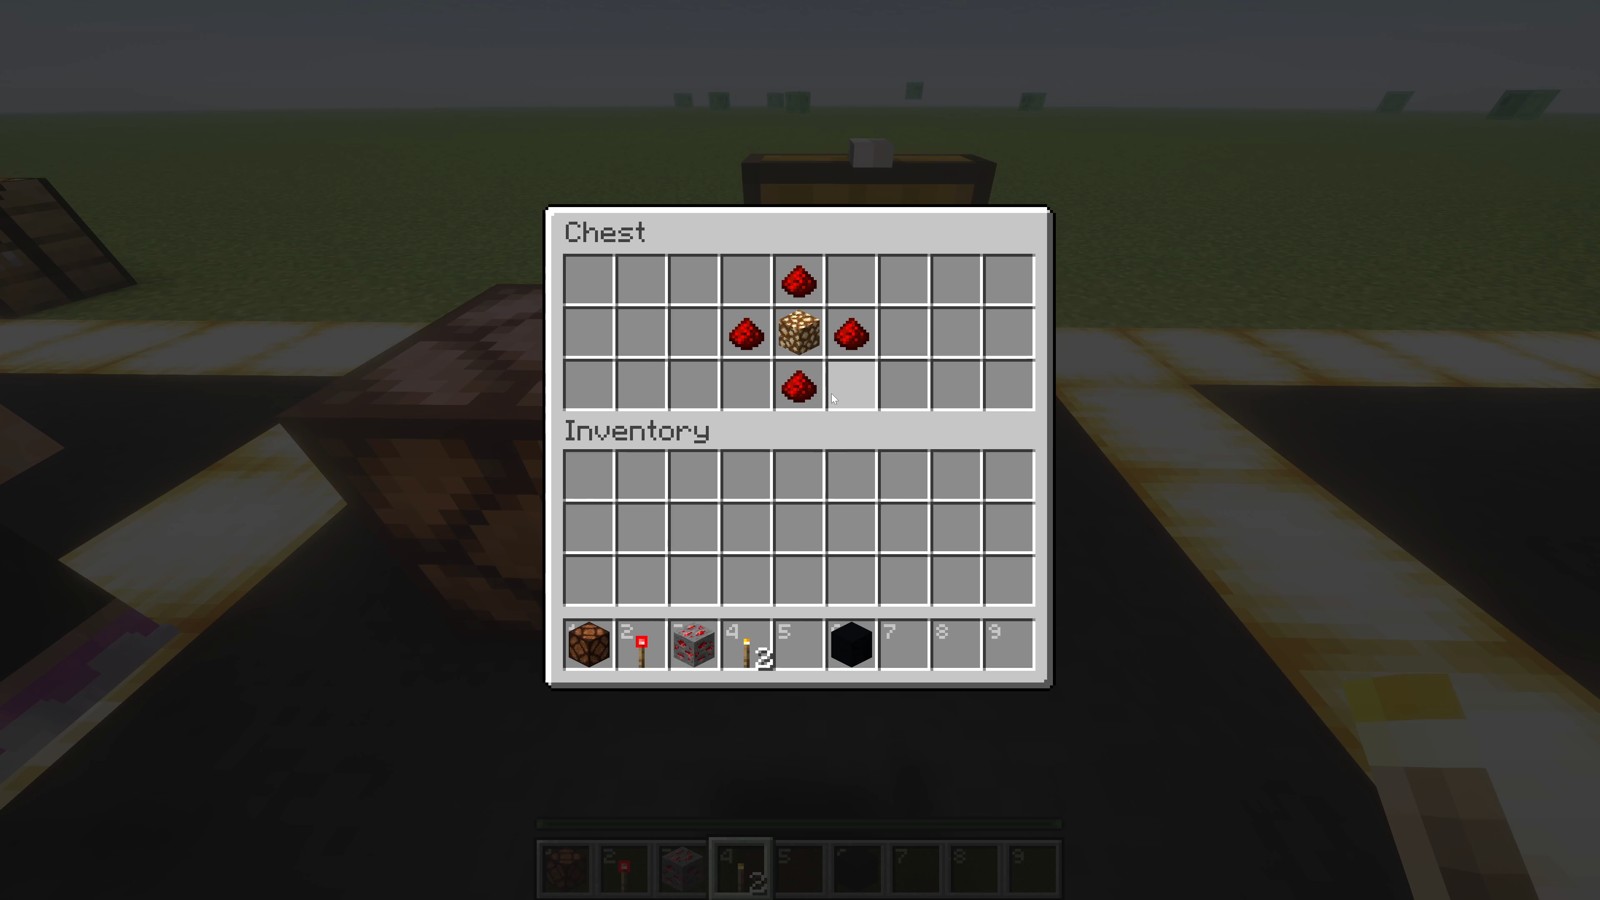
- Put one glowstone block in the center.
- Place four redstone dust around it: one above, one below, one to the left, and one to the right. Leave the corners empty.
- Take your redstone lamp.
Rob uses a chest to display this arrangement, too. Use your crafting table to make the lamp. Now let’s give it some power!
3. Make your first lamp glow
- Place your lamp on the ground.
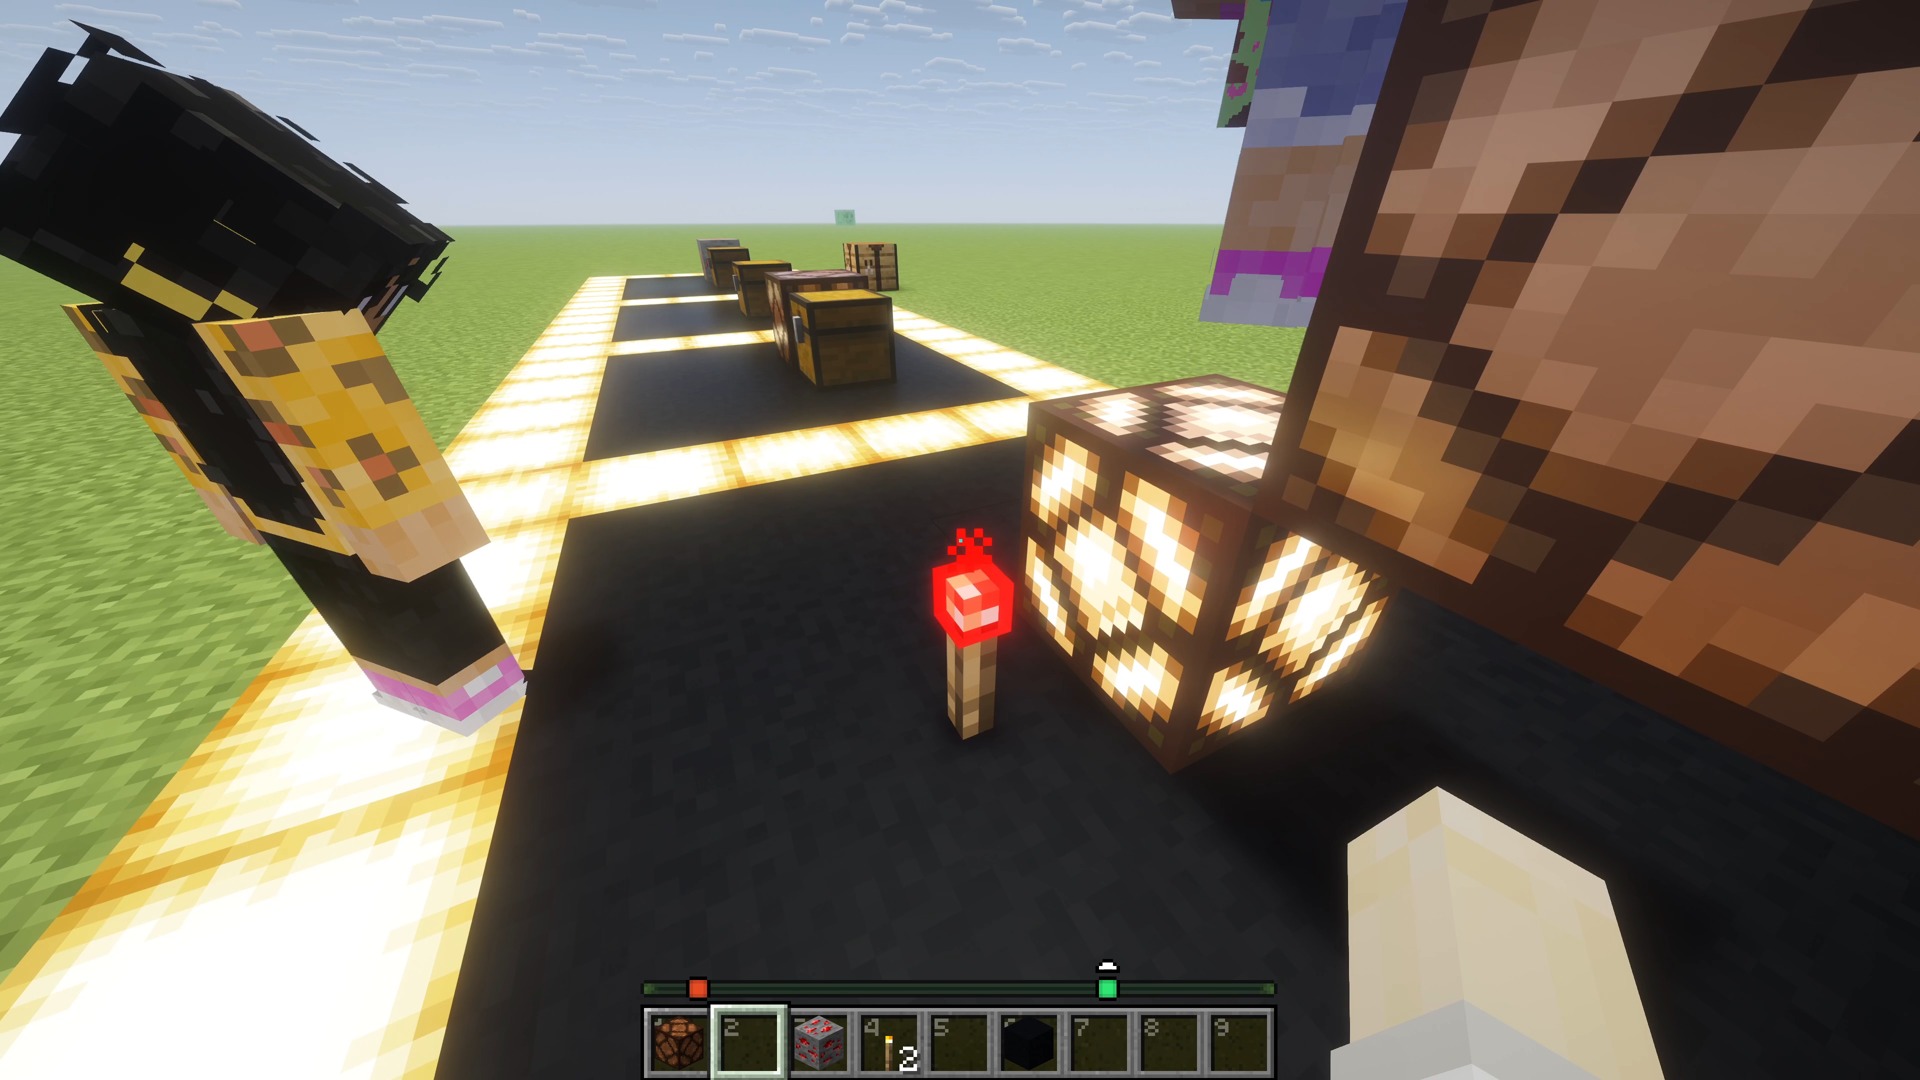
- Place a redstone torch on the ground right beside the lamp.
- Check your lamp—it should light up!
Placement matters. In the video, a torch too far away doesn’t light the lamp, and attaching the torch to the lamp doesn’t work either. Compare those with the torch standing on the ground beside it.
4. Connect a trail of redstone dust
What if you want your power source a little farther away? Redstone dust can carry the signal between the torch and the lamp.
- Move the torch a few blocks away from the lamp.
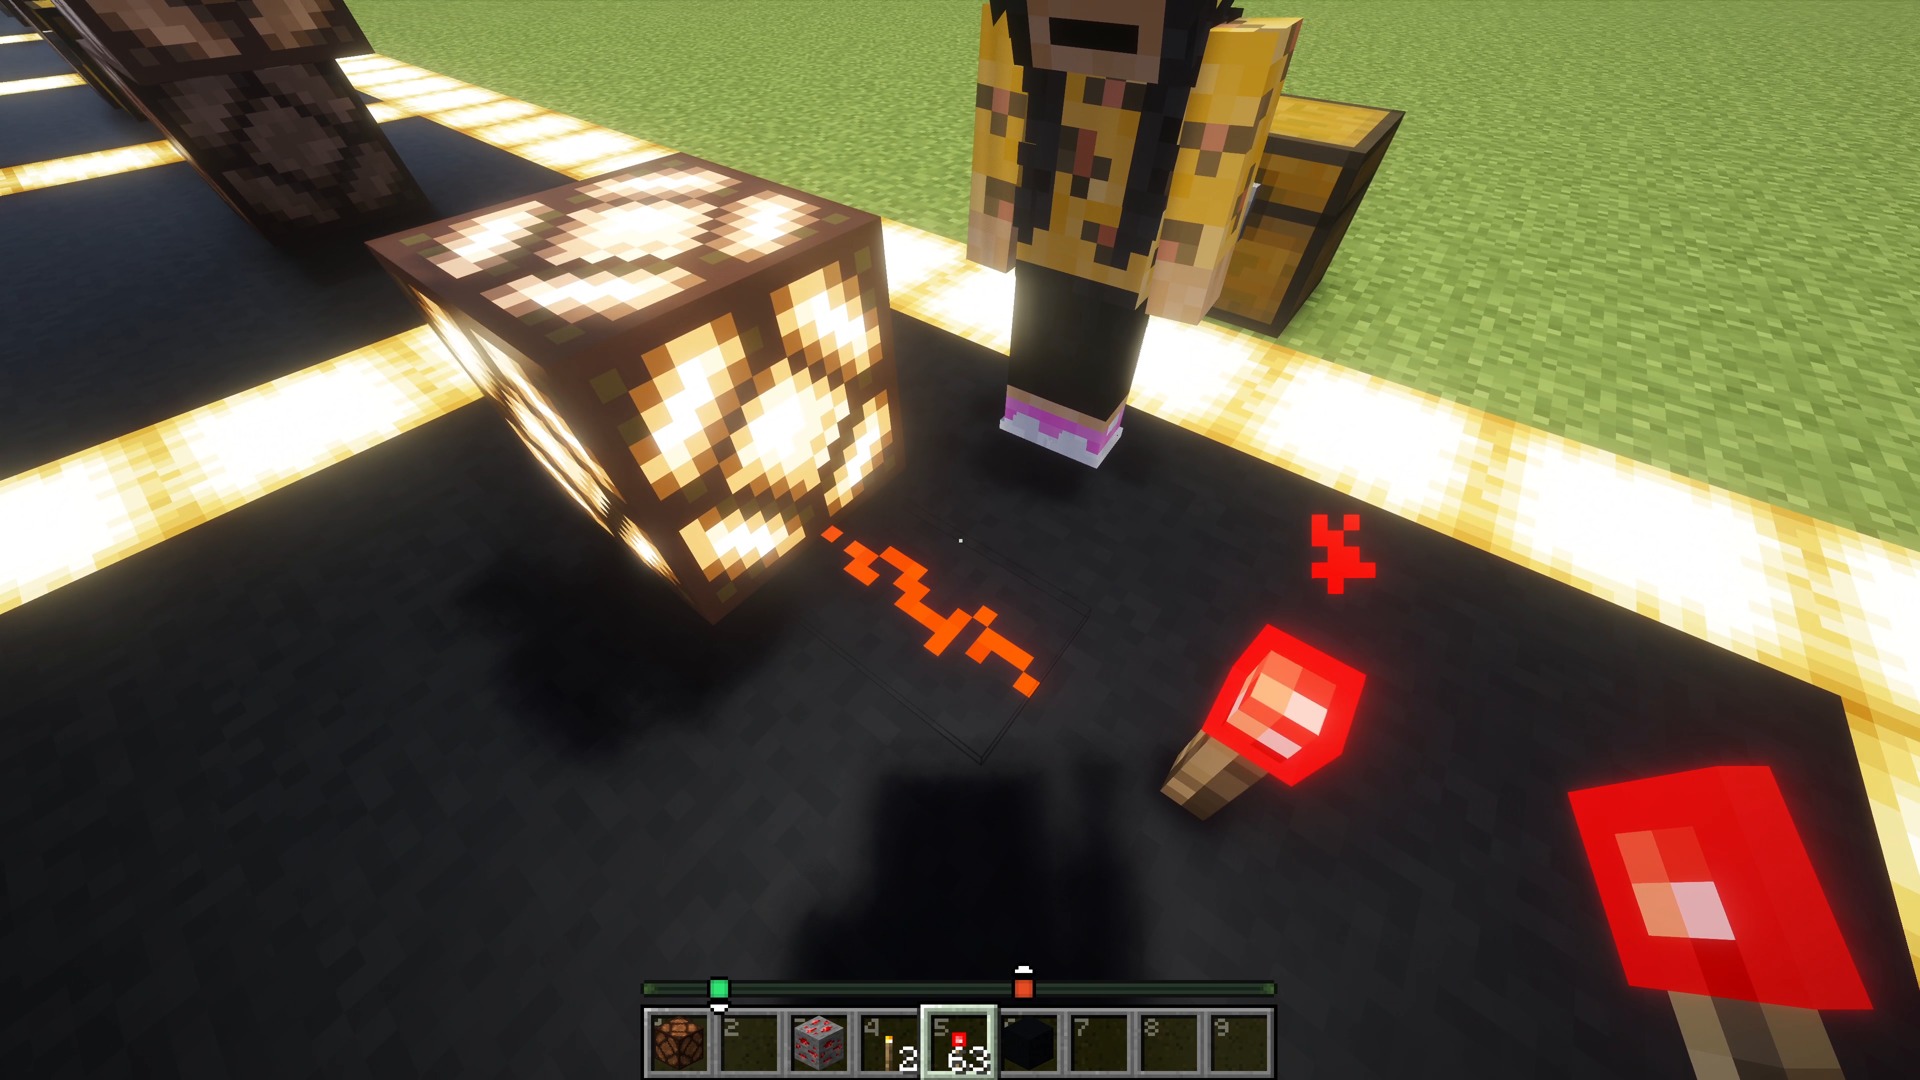
- Lay a short, continuous trail of dust from the torch to the lamp.
- Look for the glowing dust, then check the lamp.
- Try leaving a gap in the trail. Fill that missing space with dust and watch the lamp turn on.
Try it together: one builder leaves a gap, and the other finds the missing connection!
5. Test how far the signal travels
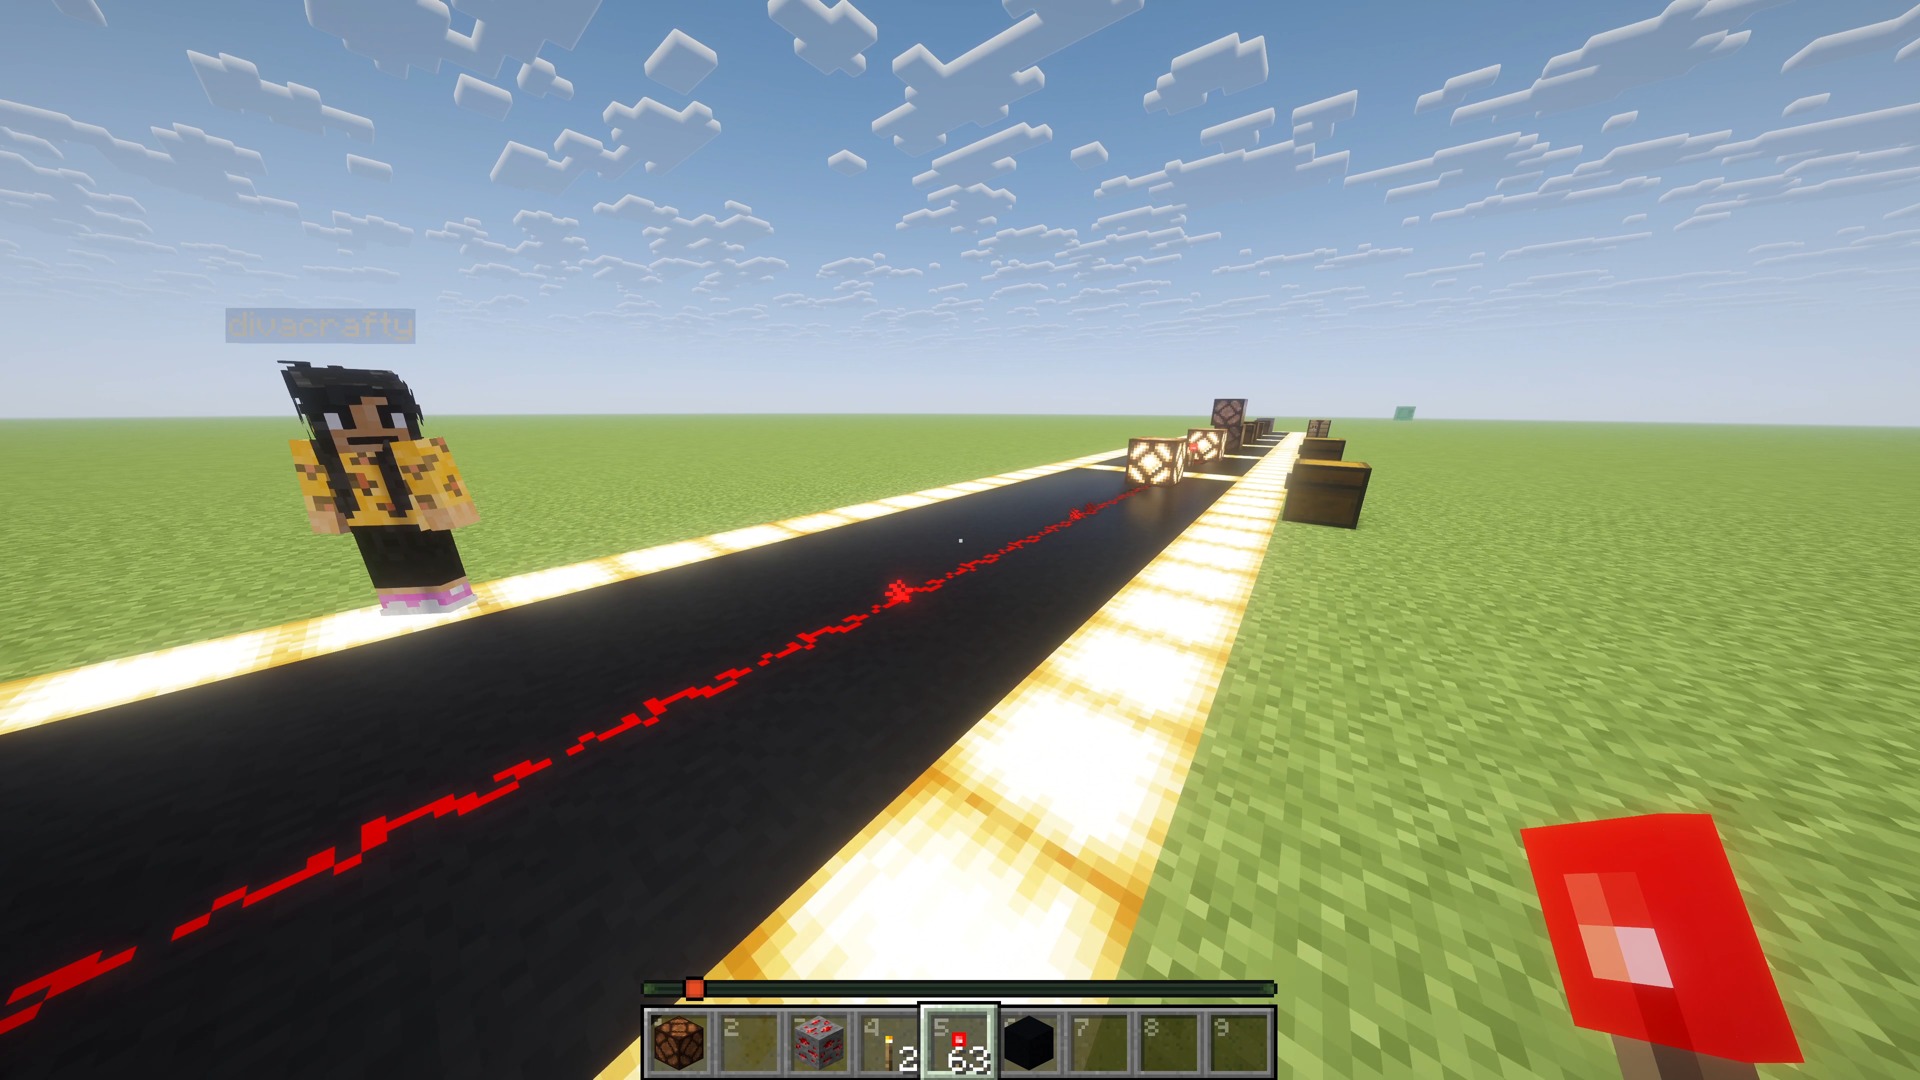
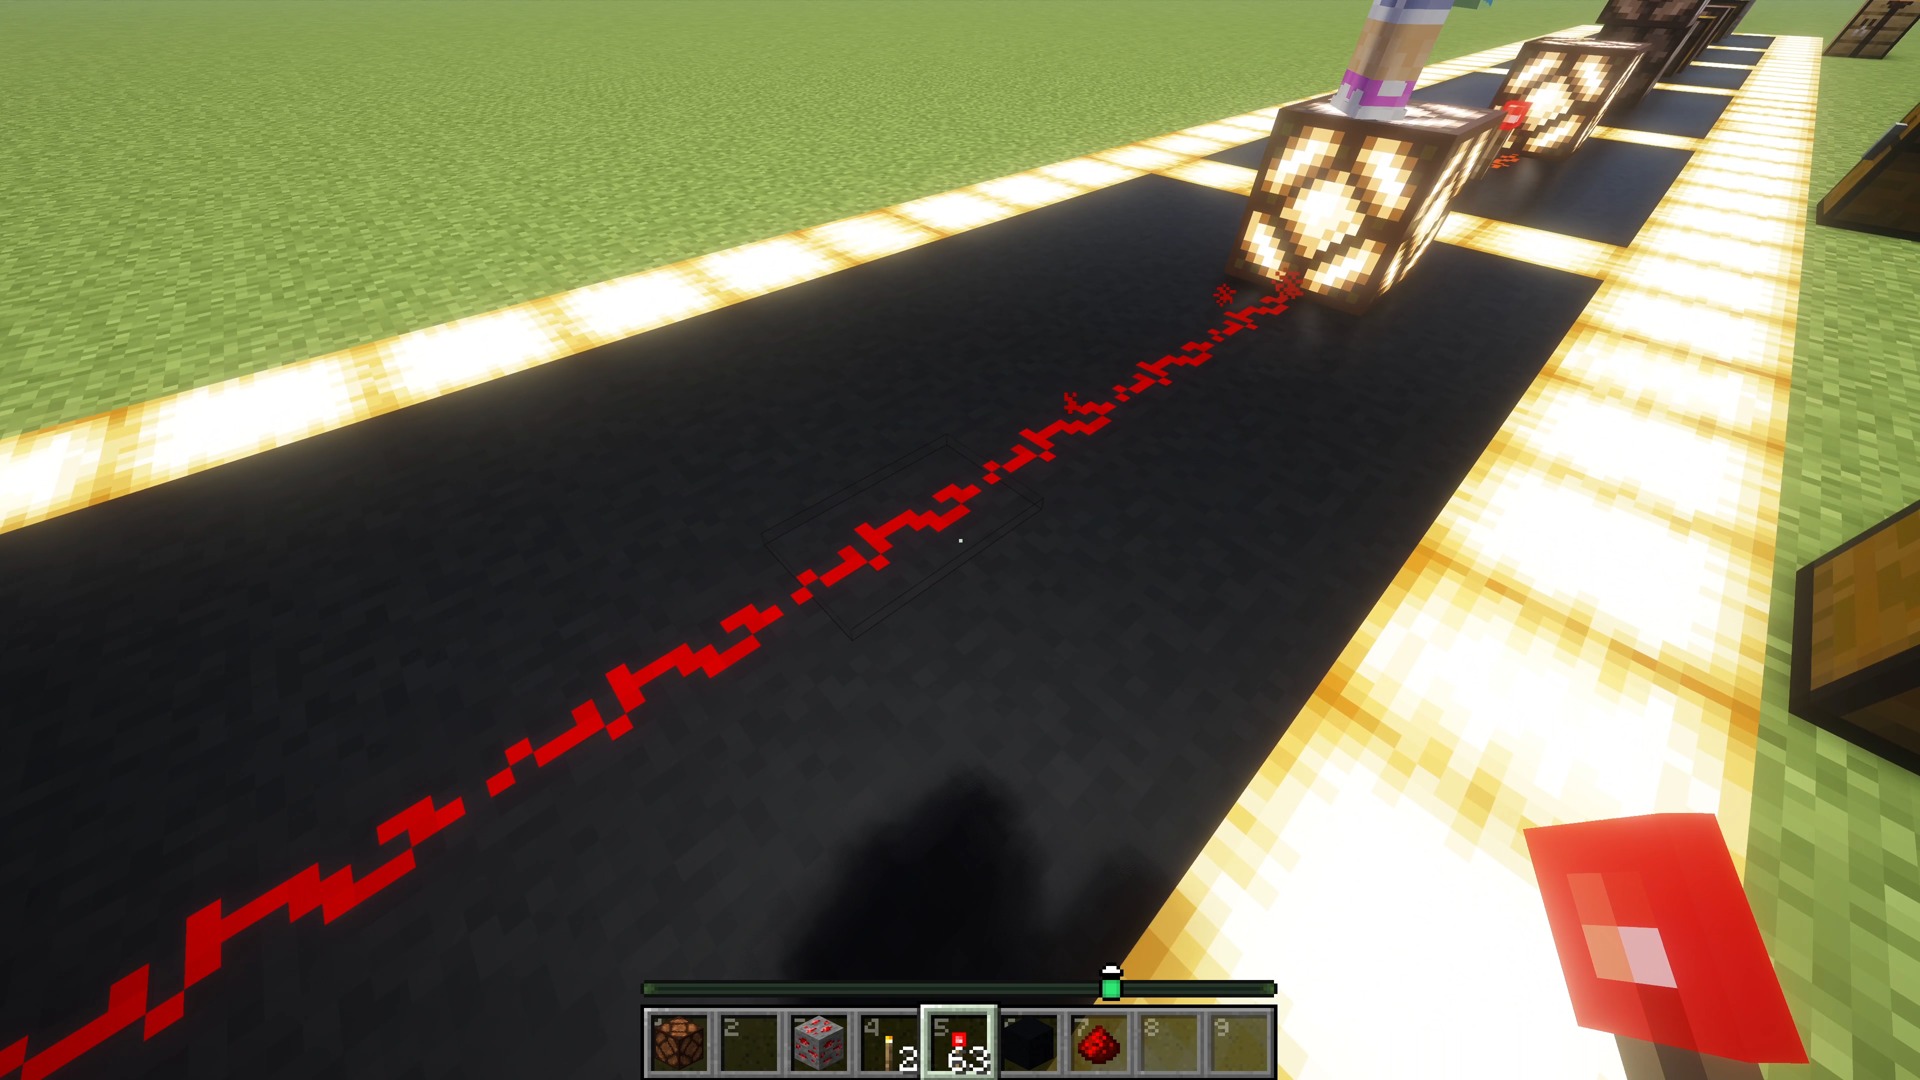
A longer dust trail doesn’t keep the same strength all the way along. Look closely: the dust gets dimmer farther from the power source.
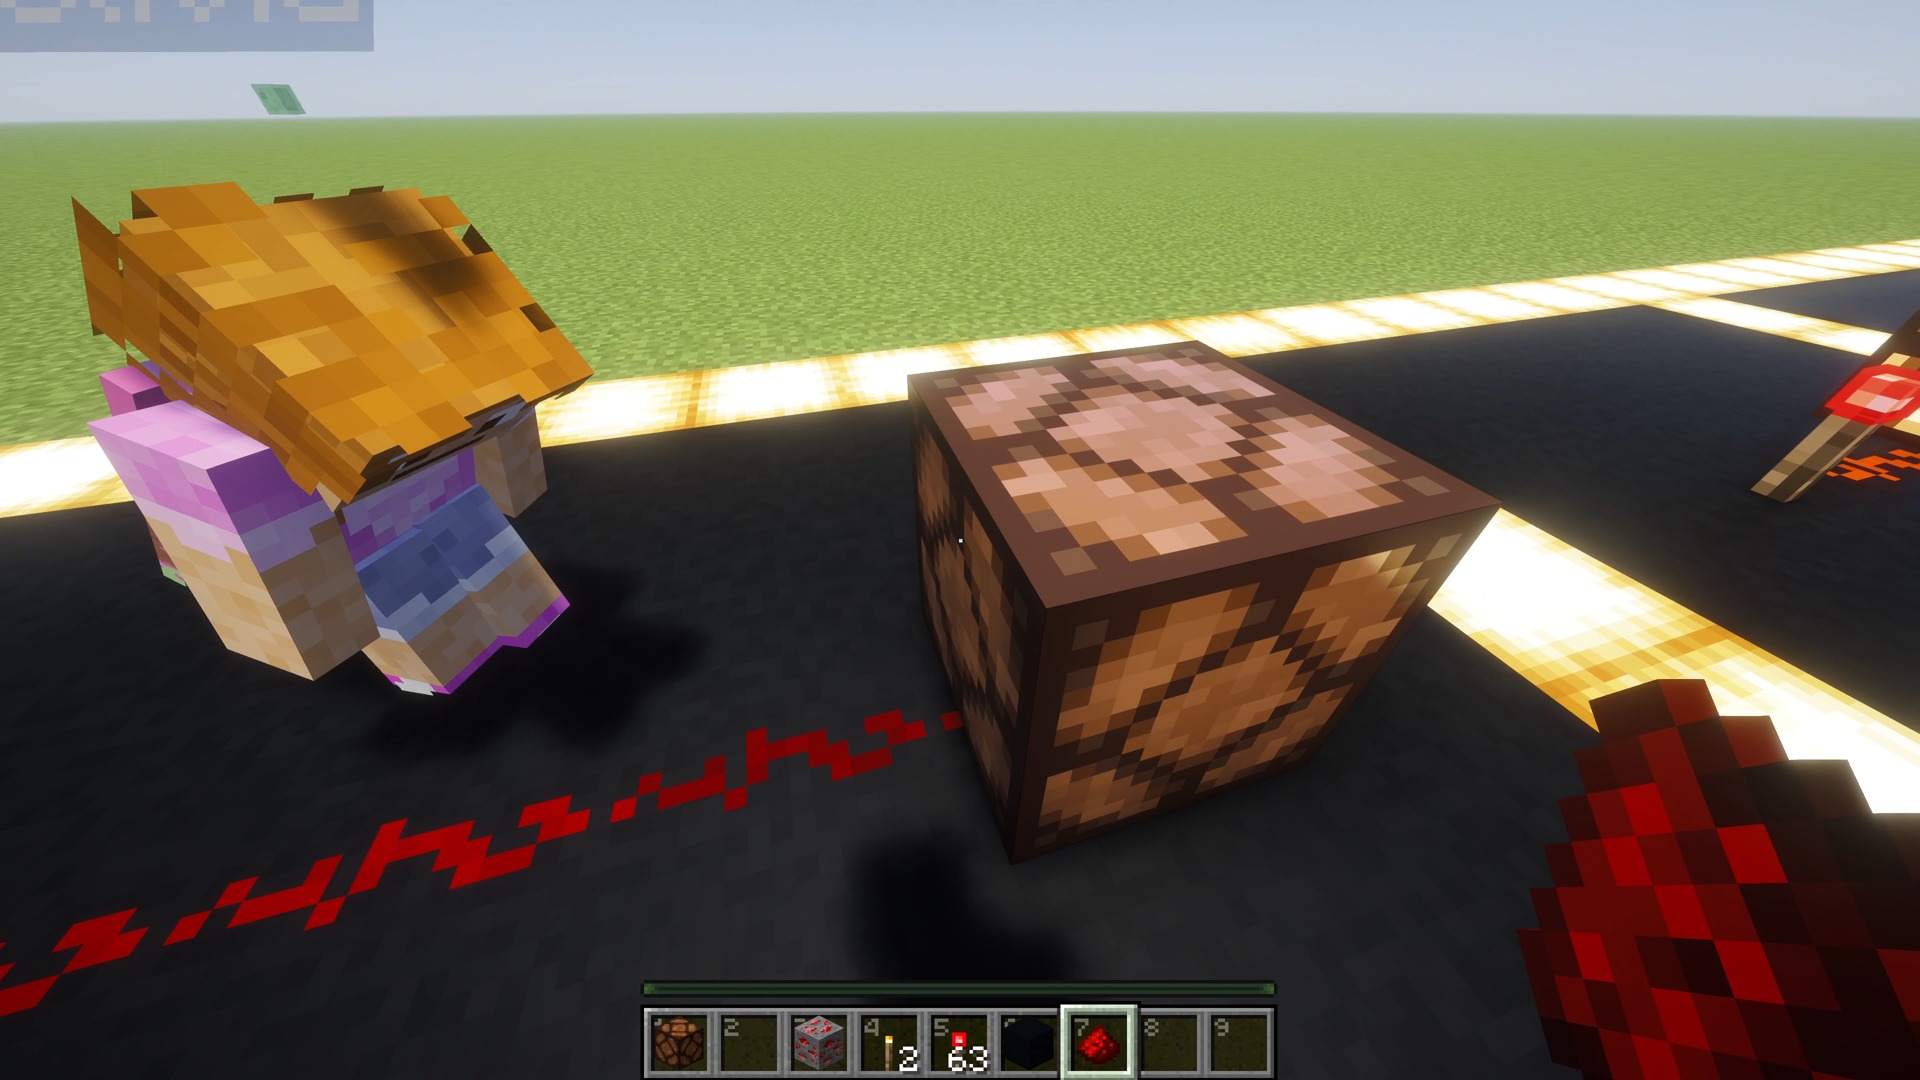
- Follow Rob’s straight-line experiment and count out the fifteen dust positions together.
- Place the lamp at the far end of the working line shown in the video.
- Move the lamp farther away and extend the connection. Does it still light?
- Bring it back closer until it lights again.
In this test, moving the lamp too far leaves it dark. Moving it back into reach brings the light back. If your lamp won’t turn on, a long dust trail is one thing to check.
6. Try three ways to control your light
Use a short dust trail for these tests. Remove the torch so it isn’t keeping the lamp powered, then try one control at a time.
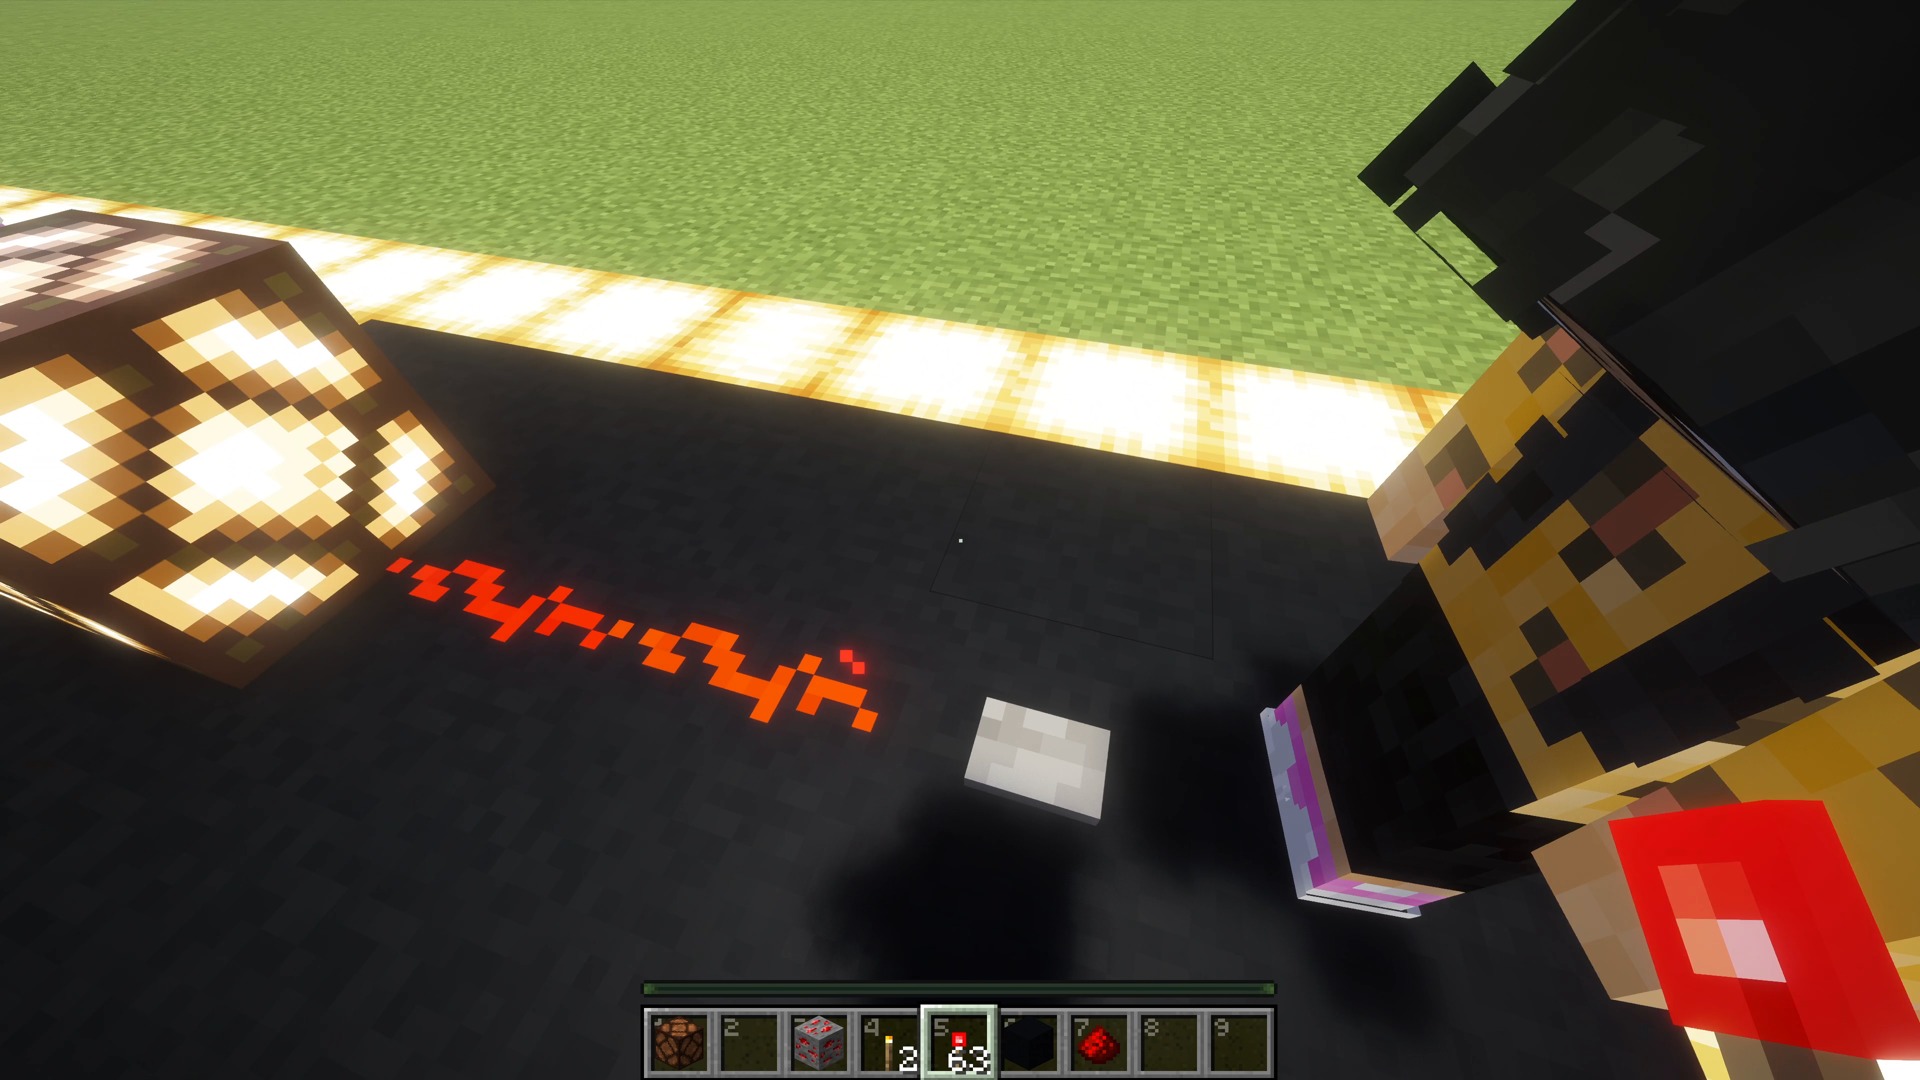
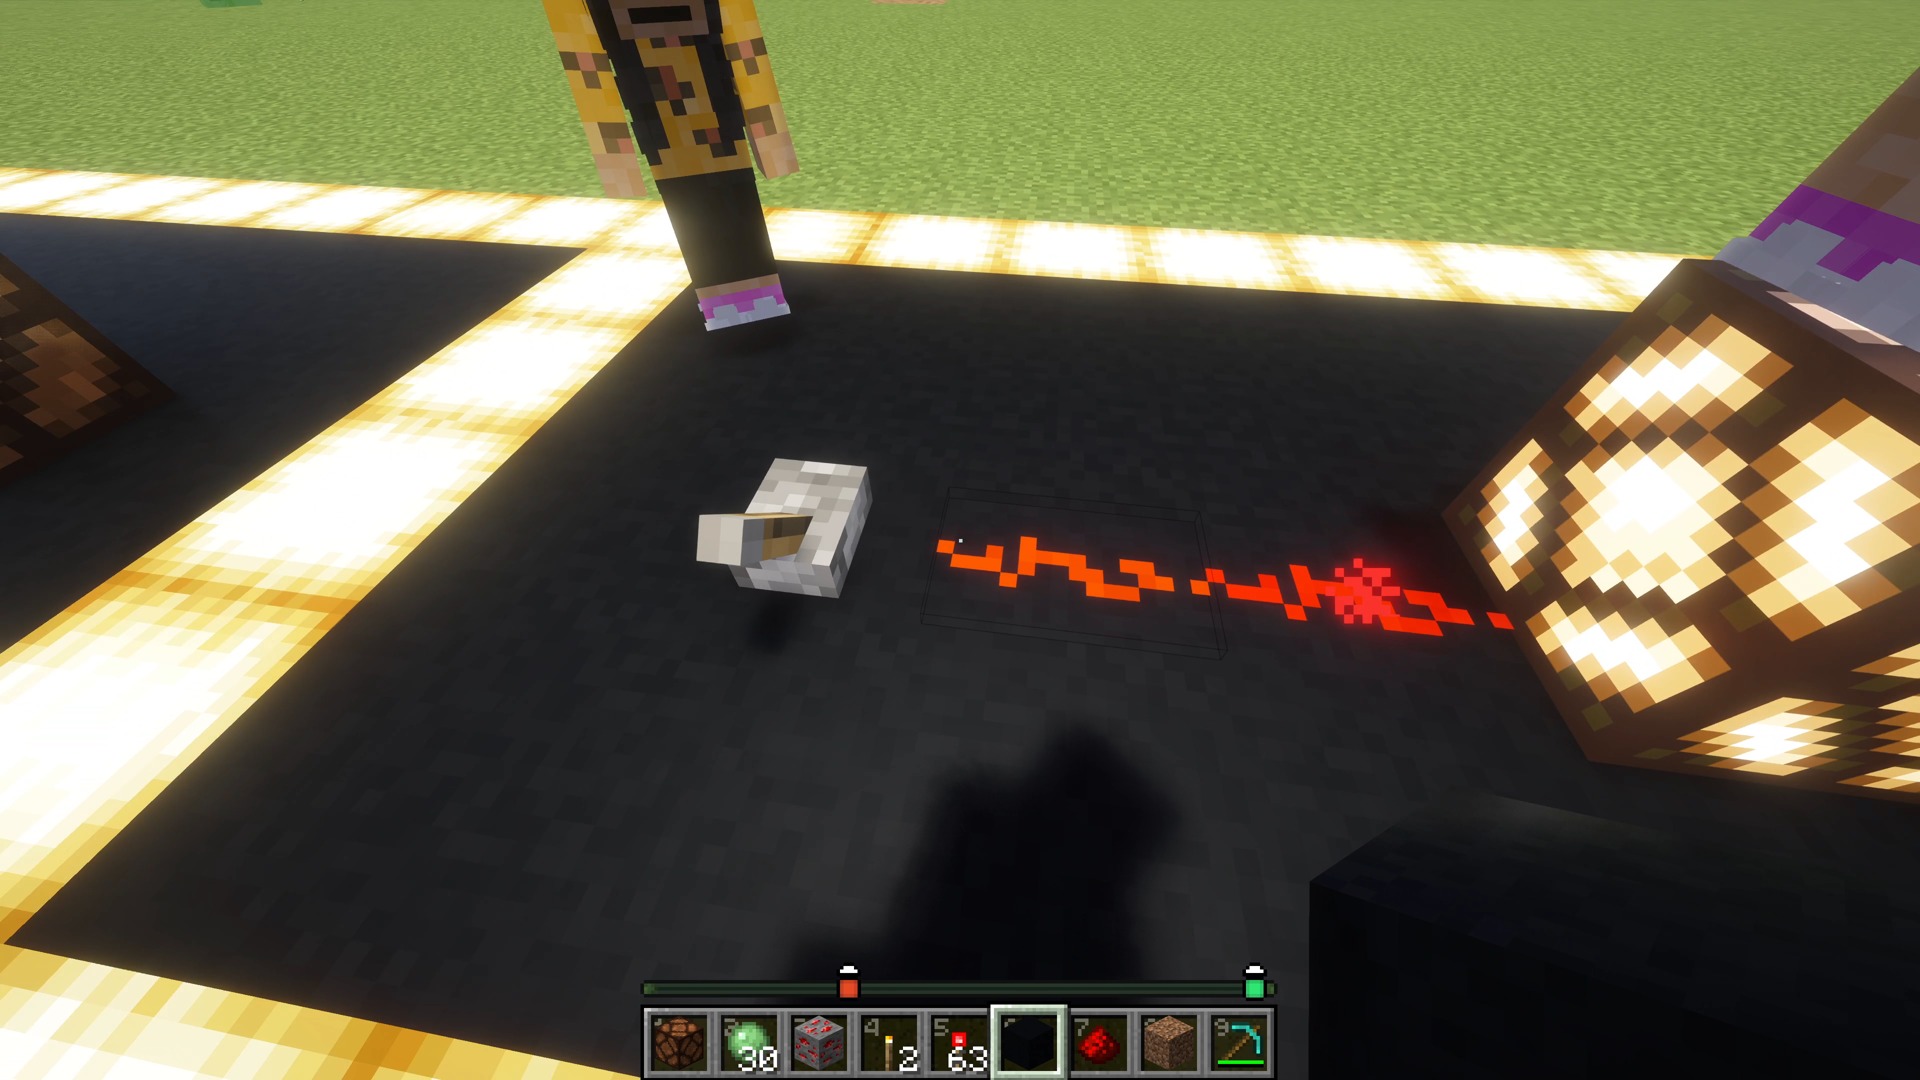
Button: a quick burst of light
- Place a button on the ground beside the end of the dust trail leading to your lamp.
- Press the button.
- Watch the lamp come on briefly and then turn off again.
Lever: leave the light on
- Connect a lever beside the dust trail.
- Flip it on. The lamp stays lit.
- Flip it again to turn the lamp off.
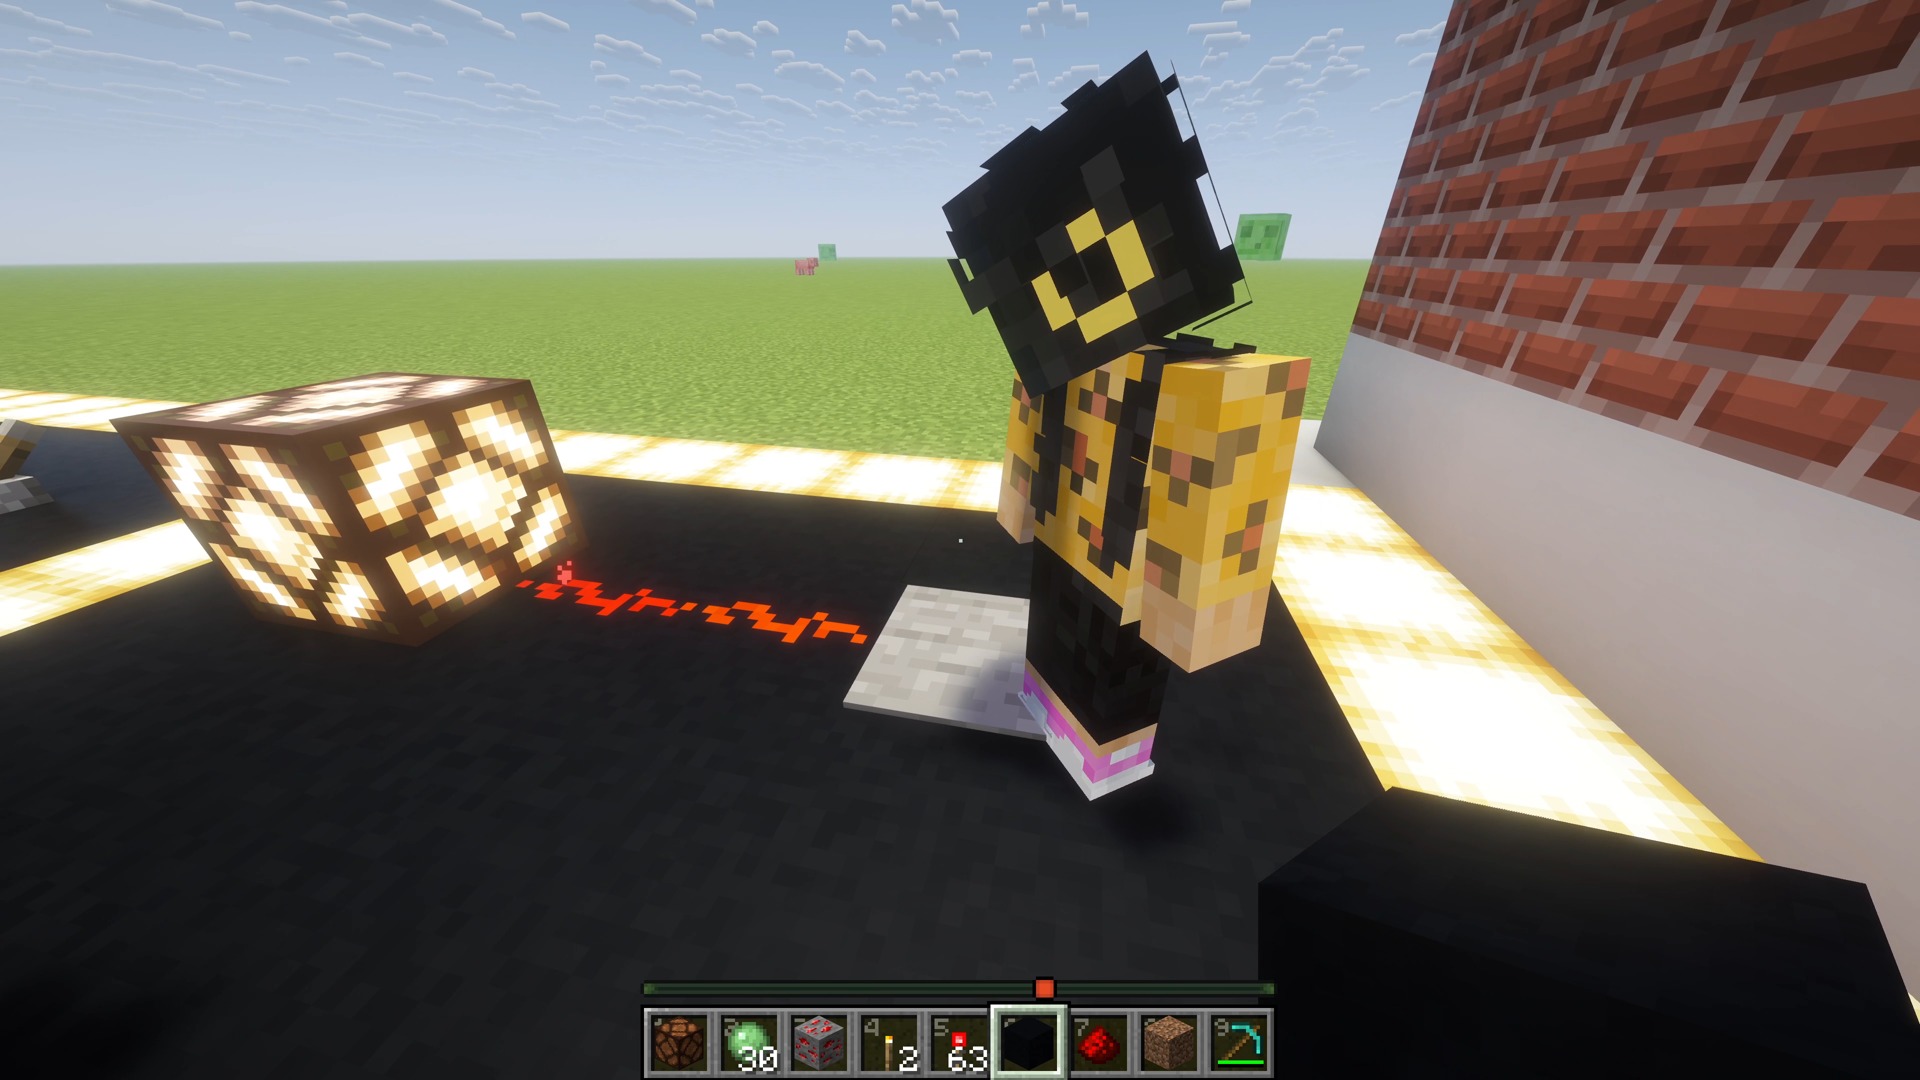
Pressure plate: step on the switch
- Place a pressure plate connected to the dust trail.
- Stand on the plate and watch the lamp light up.
- Step away and watch it turn off.
7. Take a tour of the light-up room
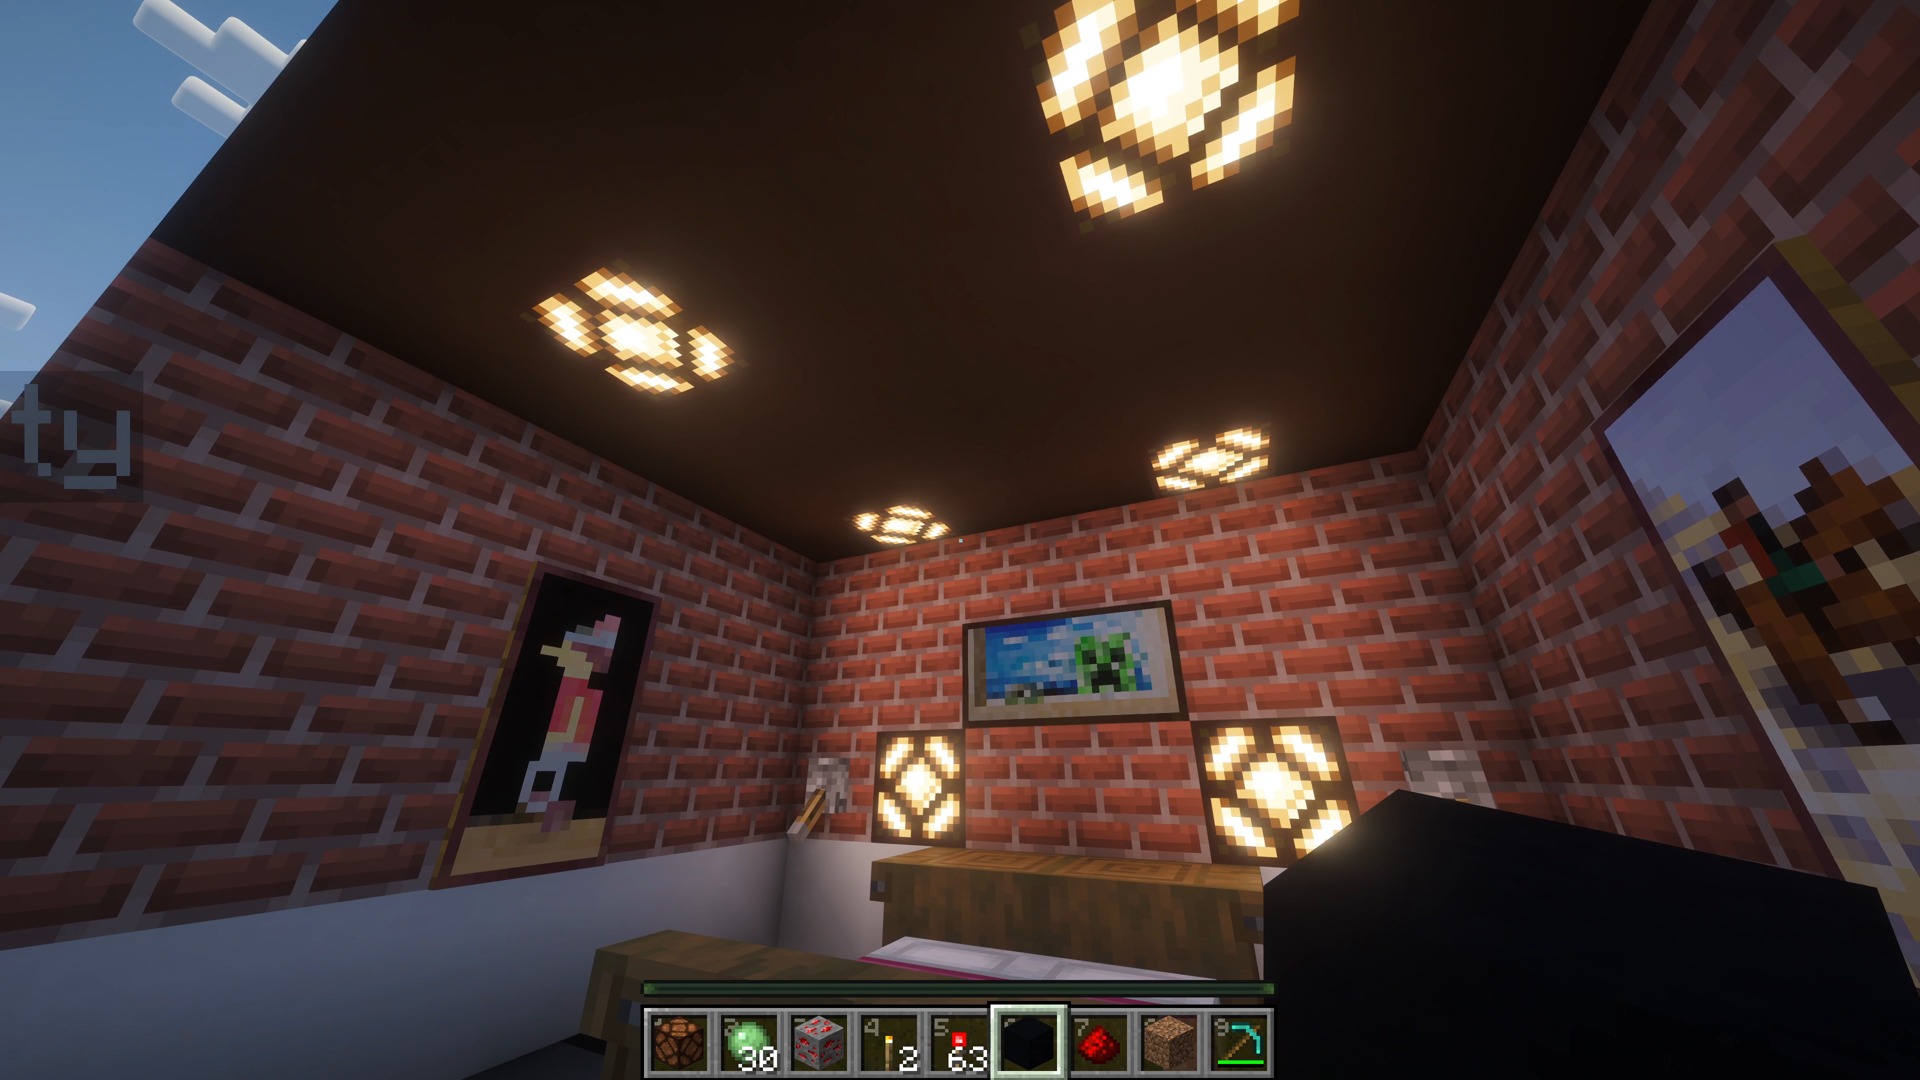
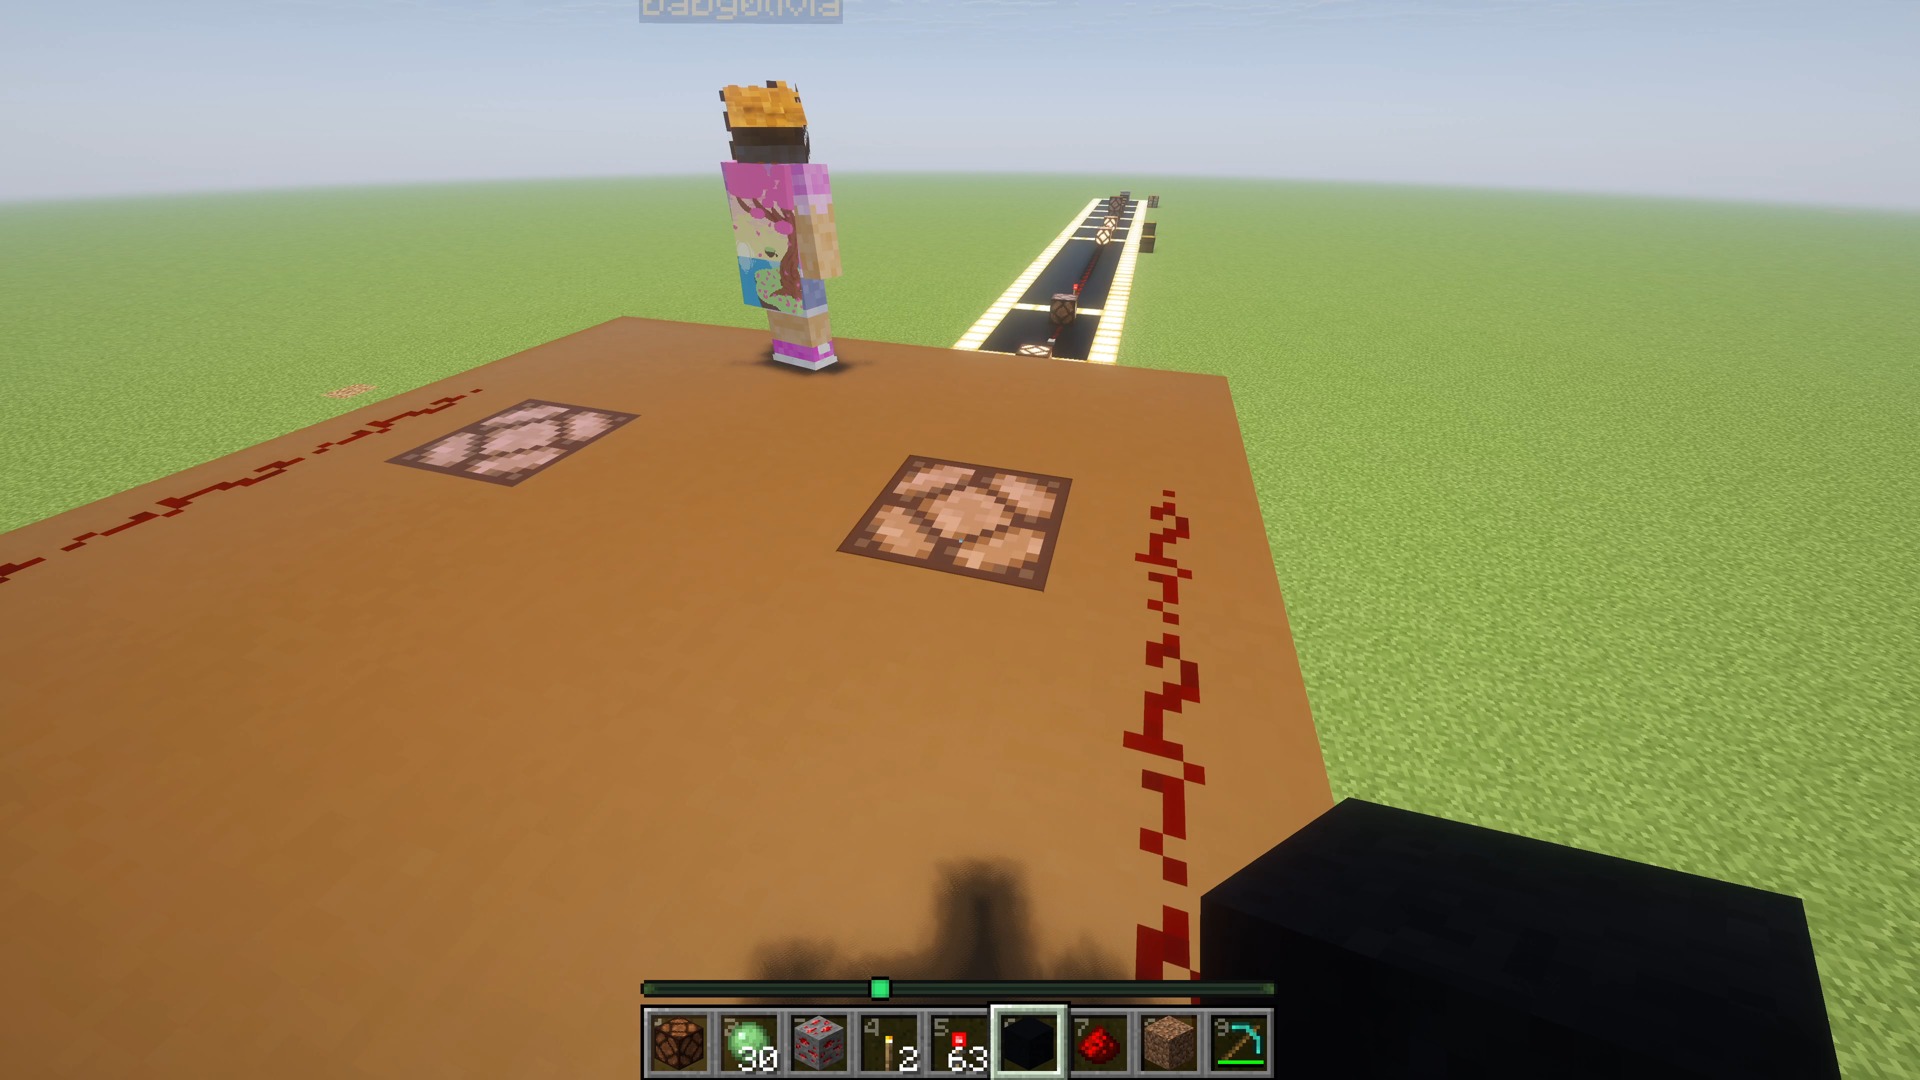
Now look at what those little experiments can become! Near the end of the video, Rob shows an already-built room with lamps in the walls and ceiling.
- Look around inside and find the lamps.
- Watch what happens when the switch is used.
- Follow the wiring outside: dust climbs stepped supports and continues across the roof.
- Think about where you would put lights in your own build.
Your next challenge: start with one lamp and one switch in a small build of your own. Get that working first, then experiment with where the light and wiring will go.
Need a hand?
My torch isn’t lighting the lamp.
Try the first setup again: lamp on the ground, torch on the ground directly beside it. Don’t attach the torch to the lamp. Compare your arrangement with the video before adding dust.
My dust trail isn’t working.
Check for a missing piece, make sure the trail reaches both the power source and the lamp, and try a shorter line. The gap experiment and the distance test show two different reasons a lamp can stay dark.
My switch won’t turn the light off.
Check whether a redstone torch is still powering the lamp or its dust trail. Remove that extra source while you test the button, lever, or pressure plate.
The button turns off before I’m ready!
That’s part of the experiment! A button sends a short pulse. Try the lever if you want the light to stay on until you switch it off.
Keep experimenting, and have fun learning together—even if a few slimes try to join the lesson!

